How to Convert PNG to JPG Without Losing Important Details
Intro
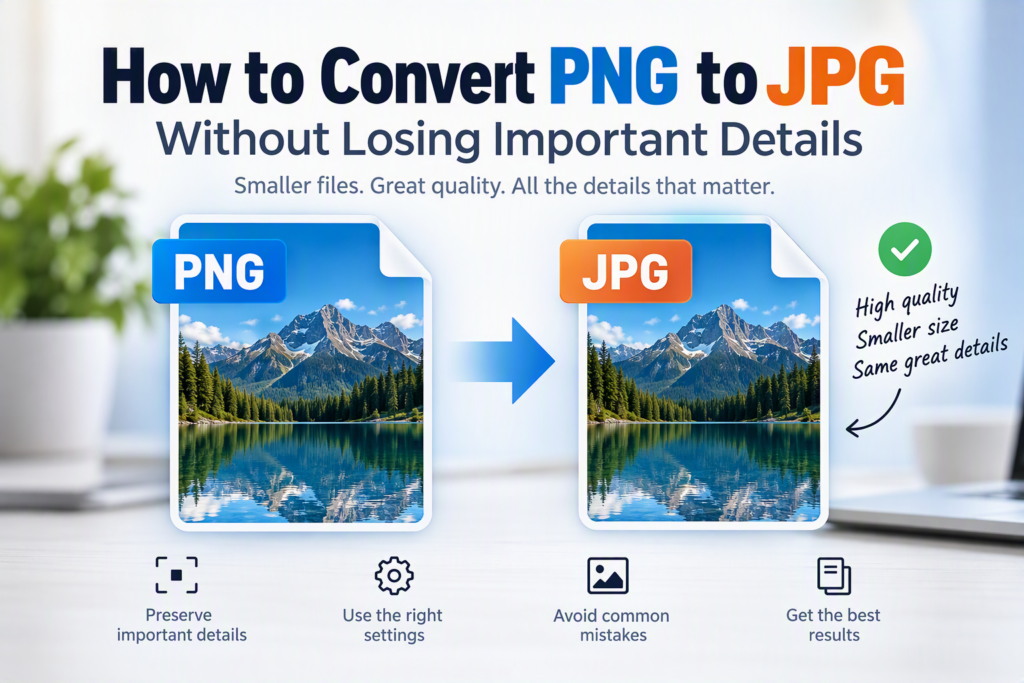
Need to convert a PNG to JPG without ruining image quality? The key is to start with a high-resolution PNG, use a reliable conversion tool, choose an appropriate JPG quality setting (typically 80-95%), and understand which details can and cannot be preserved. While some quality loss is unavoidable because JPG uses glossy compression, careful settings can make the difference nearly impossible to notice in everyday use.
This guide explains how PNG and JPG differ, what quality loss actually means, and the best ways to convert PNG images while keeping important details intact.
Understanding PNG and JPG Formats
Before converting images, it’s helpful to understand what makes these formats different.
What Is PNG?
PNG (Portable Network Graphics) is a lossless image format. That means image data is preserved without quality degradation when the file is saved or edited.
PNG is commonly used for:
Screenshots
Logos
Graphics with sharp edges
Images with transparent backgrounds
Web graphics requiring high detail
Key advantages include:
Lossless compression
Transparency support
Excellent text and line sharpness
High image accuracy
The main drawback is larger file sizes compared to JPG.
What Is JPG?
JPG (or JPEG) is a compressed image format designed to reduce file size.
It is widely used for:
Digital photography
Blog images
Social media uploads
Email attachments
Websites requiring faster loading times
Key benefits include:
Smaller file sizes
Broad compatibility
Faster uploads and downloads
Efficient storage
However, JPG uses glossy compression, which means some image data is discarded during conversion and saving.
Can You Convert PNG to JPG Without Any Quality Loss?
Not completely.
PNG stores image information without loss, while JPG deliberately removes some data to reduce file size. A PNG converted into JPG will always involve some degree of compression.
The good news is that quality loss is often so minor that viewers cannot notice it, especially when:
The JPG quality setting is high
The original image is high resolution
The image contains photographs rather than text-heavy graphics
Conversion occurs only once
The goal is not eliminating quality loss entirely but making it visually insignificant.
Why Convert PNG to JPG?
Many users intentionally convert PNG files because JPG offers practical advantages.
Smaller File Sizes
A JPG version of the same image may be significantly smaller than the PNG equivalent.
Benefits include:
Faster website loading
Reduced storage usage
Easier sharing by email
Faster uploads to online platforms
Better for Photographs
Photographs generally contain millions of colors and gradual transitions. JPG compresses these efficiently while maintaining acceptable visual quality.
Improved Website Performance
Large image files can slow page loading times. Converting suitable PNG images to optimized JPG files can improve user experience and reduce bandwidth usage.
Compatibility With Various Platforms
Many online systems, forms, and applications either prefer or automatically generate JPG files because of their smaller size.
What Details Are Most at Risk During Conversion?
Certain image elements are more vulnerable to quality degradation.
Fine Text
Small text can appear slightly blurred after conversion, especially at lower JPG quality settings.
Sharp Edges
Graphics with hard lines may develop compression artifacts around borders.
Logos and Icons
Simple graphics with solid colors sometimes look worse in JPG than PNG because compression introduces imperfections.
Transparent Backgrounds
JPG does not support transparency.
When converting a transparent PNG to JPG:
Transparent areas must be replaced with a background color
White backgrounds are commonly used
Original transparency cannot be preserved
This is a common misunderstanding during conversion.
Best Practices for Converting PNG to JPG
Following a few simple guidelines helps preserve image quality.
Start With the Highest-Quality Source Image
Conversion cannot improve a low-quality image.
Always use:
The original PNG
The highest available resolution
The least edited version
Avoid converting images that have already been compressed multiple times.
Choose a High JPG Quality Setting
Most conversion tools allow quality adjustment.
Recommended settings:
Usage JPG QualityProfessional photography 90-95%
Website images 80-90%
Social media 80-90%
Maximum file reduction 70-80%
Values below 70% often produce noticeable artifacts.
Keep Original Dimensions
Resizing during conversion can introduce additional quality loss.
For best results:
Maintain original width and height
Avoid unnecessary enlargement
Resize only when required
Convert Only Once
Repeated JPG re-saving can gradually degrade image quality.
A better workflow is:
Keep the original PNG.
Create a JPG copy.
Use the JPG only for distribution.
This preserves a clean master file if you need to export again later.
Step-by-Step PNG to JPG Conversion Process
The exact interface varies by tool, but the workflow is generally similar.
Step 1: Upload the PNG Image
Select the PNG file you want to convert.
Check that:
The image is the original version
Resolution is adequate
The file is not already compressed
Step 2: Choose JPG as the Output Format
Select JPG or JPEG as the destination format.
Most converters display this in a format drop down menu.
Step 3: Adjust Quality Settings
If available, select:
High quality
90% or greater quality level
Maximum quality option
Higher values preserve more visual information.
Step 4: Select a Background Color (If Necessary)
For transparent PNG files:
White background is usually safest
Black works for dark themes
Custom colors can match branding
Remember that transparency will be removed during conversion.
Step 5: Convert and Download
Once conversion completes:
Download the JPG
Compare it with the original PNG
Zoom in to inspect important details
If quality is insufficient, repeat using a higher quality setting.
PNG vs JPG: Which Is Better?
The answer depends on how the image will be used.
Feature PNG Compression Lossless Glossy
File size Larger Smaller
Transparency Supported Not supported
Photography Good Excellent
Logos Excellent Fair
Screenshots Excellent Good
Website speed Slower Faster
Re-editing Better Less ideal
Neither format is universally superior.
Use PNG when image accuracy matters most.
Use JPG when smaller file size is the priority.
Common Conversion Mistakes to Avoid
Many quality problems come from avoidable errors.
Using Extremely Low Quality Settings
Trying to achieve the smallest possible file often creates:
Visible artifacts
Color degradation
Blurred details
Loss of sharpness
Balance file size and quality carefully.
Enlarging the Image During Conversion
Up scaling a small image rarely improves quality.
Instead, it often causes:
Pix-elation
Soft edges
Reduced clarity
Convert at the original dimensions whenever possible.
Converting Logos and Text Graphics
PNG often remains the better choice for:
Logos
Info graphics
Charts
Screenshots
UI elements
JPG excels with photographs but is not always ideal for graphics containing sharp text and lines.
Repeatedly Saving JPG Files
Opening and saving a JPG repeatedly can add compression each time.
Maintain the PNG as the master file and create fresh exports when needed.
How to Check Whether Quality Was Preserved
After conversion, compare the PNG and JPG side by side.
Zoom to 100% or greater and inspect:
Text edges
Fine details
Shadows
Color transitions
High-contrast boundaries
Look for signs such as:
Blurriness
Color banding
Compression blocks
Halo effects around objects
If differences are barely noticeable during normal viewing, the conversion was successful.
Example: Converting a Screenshot
Consider a screenshot containing:
Small text
Interface icons
Thin lines
Colored buttons
When converted to JPG at 95% quality:
Most details remain sharp
File size decreases
Minor changes may be invisible to casual viewers
At 60% quality:
Text may soften
Lines may blur
Compression artifacts become visible
This example demonstrates why quality settings matter more than many users realize.
When You Should Keep PNG Instead
Sometimes conversion is not the best option.
Keep PNG if the image contains:
Transparency
Company logos
Technical diagrams
Screenshots with small text
Design assets
UI mock ups
Illustrations requiring maximum sharpness
In these situations, preserving image fidelity may be more valuable than reducing file size.
Choosing the Right Conversion Tool
Regardless of the software or online converter you use, look for features that include:
Adjustable JPG quality
Original resolution preservation
Batch conversion support
Secure file handling
Fast processing
Transparent background controls
A quality converter should allow you to control the balance between image quality and file size rather than forcing automatic compression.
FAQs
Does converting PNG to JPG always reduce quality?
Yes. JPG uses glossy compression, so some image data is discarded. However, at high quality settings, the visual difference may be negligible.
What JPG quality setting should I use?
For most situations, a quality setting between 80% and 95% provides an excellent balance between image quality and file size.
Why does my JPG look blurry after conversion?
Common causes include low quality settings, image enlargement, repeated compression, or converting graphics that contain small text and sharp lines.
Can JPG keep transparent backgrounds?
No. JPG does not support transparency. Transparent areas must be replaced with a solid background color during conversion.
Is JPG or PNG better for websites?
It depends on the image type. JPG is usually better for photographs due to smaller file sizes, while PNG is often better for logos, screenshots, and graphics that require sharp detail.
Final Thoughts
Converting PNG to JPG without losing important details is largely about using the right settings and understanding the strengths of each format. While JPG compression always removes some data, a high-quality export can preserve nearly all visible detail while dramatically reducing file size.
Start with the best possible PNG, keep quality settings high, avoid unnecessary resizing, and retain the original file as your master copy. By following these practices, you can enjoy the storage and performance benefits of JPG without sacrificing the image quality that matters most.